Showing posts with label repurposing. Show all posts

Wednesday, 13 March 2013

Scouting for Spring

Let me begin by saying, poo to [most] shop bought clothes. What I can make for myself is so much better.

photos by Richard Round Turner

Let me go on by saying that the only reason these photos look all professional and posed is because they are professional and posed - we had the official shoot for our new collection of sewing patterns at By Hand HQ a couple of weekends ago, so I took full advantage and jumped right in while the girls were doing their make-up to get a couple of decent shots to submit for something I won't mention just yet (and won't mention at all if it comes to nothing!).

What I really want to talk about here is my new Scout Woven Tee by Grainline Studio. As far as other indie pattern designers go, Jen is up there with my favourites and my bestests. No one does polished casual classics like she does, in my humble opinion. Have you seen the Archer shirt?? Nothing short of perfection. I bought and printed that pattern within minutes of it having gone live.

So. You'll notice right away that this is not a straight up Scout. I made it from a beautiful, but huge, man's shirt I picked up from Traid for less than a fiver and had taken apart at the seams. I wish you could have a feel of the fabric yourself - the softest cotton lawn - the kind that only gets better with wear, and wear is what you get when you go second hand. I cut the front in two pieces with the already existing button placket as my centre front, and added a little collar to keep to the shirt theme. In the end I actually stitched the placket shut to avoid it flapping open at the bottom. I am deeply in love with this pattern. Perfect in its simplicity, wearability and adaptability. 


The timing of this make was, at the time, so perfect. Skies blue, trees beginning to blossom, sun shining and birds singing... but it wasn't to last. Having had the promise of Spring dangled in front of us so teasingly last week, only to be snatched back and force fed another helping of snow instead, I'll be wearing this top under a good few layers until further notice. In the meantime, I already have another Scout in the cutting and various metres awaiting the same treatment, as well as big plans for the Archer. Roll on Spring!


(In the photos above I am wearing: Scout Woven Tee; Charlotte Skirt; vintage shoes; Sonya Kashmiri bag)

Tuesday, 12 March 2013

The Refashioners 2013


I could hardly believe my eyes when I got an email from Portia, aka Miss P, a few weeks ago asking if I'd like to be a part of this year's The Refashioners! Sewing blog buffs among you already know exactly what I'm talking about, but for those of you who don't - this year will see the second series of The Refashioners, in which Portia sends mystery (and generally pretty dodgy) thrifted garments out to a handful of bloggers for them to refashion/customise/repurpose/remake altogether into something not just wearable, but desirable.

Not only can I not wait to see what I've been sent to refashion, but I'm also feeling pretty damn proud right about now to have been placed among such prestigious blogging company. The other girls taking part are all huge inspirations and I'm almost more excited to see what they come up with than I am to take part myself! Almost, I said! Just lay your peepers on the line-up -

Zoe - So Zo...
Dixie - Dixie DIY
Lauren - Lladybird
Tasha - By Gum By Golly
and me

There's not much I enjoy more than a good challenge... if it's more than I can chew, I'll take me a big bite! Portia, do your worst!! x

Monday, 24 September 2012

Vintage skirt refashion

Let me start by saying that I cannot take any credit for this refashion - the idea was 100% snaffled from this DIY over at A Pair and a Spare.

I spotted this skirt from afar - its pink jungle sunset print specifically - hanging cramped on a rail at a second hand stall in Islington market. I didn't even bother trying it on; at £6 I was gonna have me that skirt and make it fit. Turned out, it may as well have been made to my waistline it fit so well! The length was always a bit too much though, and not wanting to hack up that beautiful fabric without a sure plan, it sat in my wardrobe for over a year without so much as a single outing.


When I saw the aforementioned DIY (on Pinterest, of course) I almost kicked myself for not having thought of it first! So simple! So slap you in the face plain to see! Skirt too long? Cut the bloody bottom off and turn it into a top. Obviously.

And that's just what I did. I sliced off a panel about 5" wide from the bottom of the skirt, twisted it at centre front and handstitched the twist into place. Then I stitched a length of pink elastic to act as a halter.

Even though this, as an outfit will quite clearly remain confined to pool party scenarios, I love it. And the skirt will definitely get taken out a lot more now that it's no longer at that awkward mid-calf length.

And finally a little something for the pubescent boys who just happened to be strolling by at an extremely slow pace during this whole "shoot"...:

Wednesday, 11 July 2012

DIY painted mason jars


If Summer won't come to me, then I'm just going to have to make it happen instead. It had crossed my mind to set up some kind of faux beach scene in the sitting room, complete with fake palm trees, hammock, sand stolen from the local sandpit and the sound of waves emanating from my iPod... Wouldn't that be amazing? But a bit over the top. So instead I just painted the inside of some mason jars, filled them with fake flowers and brought a dash of the sunshine into my house that way. Here's how:

You will need:
  • Some empty jars (clean and dry)
  • Glass paints
  • Paintbrush

Step 1 - Start by deciding the colours for your jars. If you want to mix the colours (I added white to mine to make them lighter) do it directly in the jar. Pour a generous dollop of the paint into the jar and mix it up with a paintbrush.

Step 2 - Swish and swirl the paint around, completely coating the inside of the jar. Drain the jar of excess paint by leaving it upside down (tip: leaving the jar to drain over a ramekin will catch the excess paint ready to be used for something else). Any messy bits can be cleaned up with a damp sponge.

Step 3 - Leave your jars to dry overnight. Preheat the oven to 160 degrees. Bake for 40 mins (be sure to double check this with the instructions on your particular paints as different brands may vary) and leave to cool before filling with flowers, pens, whatever!


Sunday, 8 July 2012

Tell me about it... Stud!

As well as all the pattern cutting and sample making going on in my studio, these days over at By Hand HQ we've been having a lot of fun with quick DIY projects. As much as I love the complete process of designing, cutting and making a dress from start to finish, it's so great to be able to break up the concentration with a bit of instant gratification. My little boy is now three and a half and very curious about what his Mama does. He'll often grab some yarn and needles and attempt to knit some socks, order me to make him superhero suits and dinosaur costumes or suggest I make a new dress to wear today, but is always frustrated by how long these things actually take! With all this quickie DIY stuff going on now however, he's found his niche. And my skull studs.

I am proud to say that this project was entirely his idea, he chose his studs and positioned them himself (obviously I did the anchoring of the spiky bits that hold them in place, and demolished my fingers in the process).

It seems the apple really doesn't fall far from the tree. I am overcome with pride. They are the coolest shoes I think I have ever seen. In fact I might have to copy him and make a matching pair for myself. Too much??

What he wore: raglan t-shirt; grey moleskin trousers; his studded plimsoles; 1984 Fisher Price roller skates


Saturday, 16 June 2012

The remake of a recent make

My washing machine and I are going through a bit of a rocky patch... I'll admit I may have been a little neglectful of its needs, but this retaliation really hit below the belt:


Both fairly recent makes, less than 6 months old, both dearly loved and frequently worn. Now completely buggered. I'm especially gutted about the shirt as the fabric - of which I had just over a metre, given to me by my Mum - is irreplaceable. And it doesn't end there... Remember that black floor length jersey dress? Arsehole machine took care of that one, too. Thought it would look better with an asymmetrical hemline. I, do not.


Luckily, I was able to salvage the dress just by slicing it shorter. Then I remembered some amazing gold crochet trim I bought from Goldhawk Road...


In your face, washing machine. Put that in your drum and spin it.


Tuesday, 17 January 2012

Slowly But Surely


Observant types may have picked up on a secret project going on in these parts... It was meant to be the ultimate Christmas present - a Memory Quilt, commissioned by a Mother for her Daughter, made using her dear, late Father's shirts. 

Much to my regret, I didn't finish it in time... And things like that cannot be rushed.

So with what I had, I put together what I could: a written explanation illustrated with photos to be printed off and given on the Day, a promise of the quilt to come. While work on the quilt still continues, slowly but surely, now that the cat is out of the bag for the people who matter, I get to share with you the piece I wrote ~


Wrapped In His Memory


Two months ago I received a very moving message from your Mum asking my advice on having a quilt made for you, using all of your Father’s shirts. We met, discussed, designed (and had to sneak around a bit!), and eventually I found myself in my studio, rotary cutter in hand, a neat pile of your Dad’s shirts on my table, terrified. Not only is this the most challenging quilt design I have ever worked on, but easily, and so terrifyingly, the most emotionally valuable project I have ever embarked upon. I think I spent two days just staring before I could bring myself to cut the first piece.


After sewing the first ‘flower’ with my heart in my mouth, I saw how truly beautiful this quilt could become. So I kept going… cutting and sewing, arranging stripes, colours and textures, finding the special details to take pride of place as the flowers’ epicentres and keeping aside labels and buttons to incorporate later…


As expected with a project such as this, things never turn out exactly as planned. There have been hurdles, changes to the design and minor set-backs. But despite the extra time, these hurdles have only added to the beauty of this quilt – like the addition of white shirting ‘pathways’ to accentuate the flowers, the decision to hand-tie the quilt with individual threads rather than quilting by machine, realising I had miscalculated the width and therefore having to make more strips to bulk it out!


Darling Camilla, 


This should have been under the tree for you today, but being the work of Love that this is - from the love you shared with your Father, to the love from which your Mother conceived the idea for this Quilt, and the silent, humbling love I feel as I cut and stitch each piece – this is something that could not be rushed or hurried. And so, disappointed as I am that it is still a work of love in progress, I only hope that this is enough, for now. 


Tuesday, 29 November 2011

Let The Countdown Begin...

Season-wise, right now I'm in a state of bliss.


Waking up to frosty foggy mornings; listening sleepily as my 3 year old recalls his monster-bashing dreams over a bowl of hot, maple syrupy porridge; crunching our way to the park through fallen leaves;  the anticipation building as Christmas comes into view...

It certainly has been an eventful Autumn for me.  Events that shall not be named - certain exciting new business events that remain a secret, and certain difficult personal events that have thankfully now been resolved - combined with all the love and joy (and a little exhaustion...!) of raising a very spirited boy have made for a more emotionally concentrated few months than usual, with circumstantial highs and lows fighting to dominate my mood.  But despite the testing moments, it seems that life's little pleasures always win.  And I have been moved to be able to enjoy those little pleasures that have always pleased me so much, but now with my not-so-baby boy, who, for the first time, is really taking notice.

As we move into wintry territory, and what feels like a new chapter in my life, I find myself filled with hope, excited not only for the coming month, but for the coming future. And in the meantime, I am trying to remain mindful of right now.  Always looking forward, but remembering to slow down and squeeze every last drop out of the build-up.  Like most things, the time spent leading up to the climax is what should be savoured most of all...!

So, in order to squeeze every last drop out of the Festive Season, I made an Avent Calendar using an(other!) old frame and pockets to be filled with ideas, plans, reminders, the odd treat - anything and everything to inspire us to make each day leading up to Christmas count.

~ Advent Calendar ~


I started by rummaging through my scraps of felt to combine with a completely adorable Japanese cotton from The Eternal Maker, and made 24 pockets (10 x 12 ish cm) with a tunnel loop across the top so they could be strung and hung across my frame using the same method from my last frame repurpose.


Planning the layout before embroidering and appliquéing the numbers... To be honest, I found this part pretty tedious.  While I love the idea of embroidery, I simply don't have the patience.  Sort of how I feel about knitting with ultra fine yarn... Hopefully one day I'll have more time for endlessly intricate projects!


Definitely worth it though, and now the fun part: filling each pocket with notes, things to do on each day, a wishbone I saved from the last roast, a lucky penny for his money box, odd treats and trinkets... you get the idea.  


P.S. My apologies for dingy shots, to be blamed entirely on dingy weather!

Friday, 11 November 2011

Repurposing A Frame


from this...

...to this ~


For a while now I've been wanting to figure out a decent display solution for all the cards that seem to be accumulating on my fridge and the increasing number of masterpieces my son is churning out these days... But I've been feeling a bit let down by Blu Tack lately - not only is it eating away at my walls but it seems to be a lot less sticky than it was back in the days of heart-throb posters... 

So I found a big wooden 2nd hand frame, removed the dodgy watercolour, glass and back board and repositioned the hooks to make it hang portrait...


...then marked out 7" intervals on either side of the frame where I wanted to place the strings for hanging stuff from...


...pushed, but not all the way, drawing pins (thumb tacks if you're Stateside) into the marked intervals...


...and finally, tightly knotted some strong cotton twine across the frame, held in place by the two corresponding drawing pins on either side, hammered the drawing pins securely down and snipped off the excess string.


And after a 10 minute fixer-upper project I now have the perfect little gallery for my son's works of art,  the ideal place to display on rotation all the cards that ever meant something, tickets to a certain upcoming Gillian Welch gig, and I'm sure the odd shopping list will find it's way there soon.

Tuesday, 8 November 2011

Productivity

It's amazing what can be achieved when presented with an unexpected evening alone.  Not knowing when I might next have a chunk of uninterrupted studio time, I put Christmas present making aside and indulged in some selfish stitching... Skirts and snoods are usually my go-to projects if I want a quick fix - both quick and satisfying to make, not too fiddly, and always a welcome addition to my expanding wardrobe.


I started with a curtain that used to be in my Grandparents' house, but since losing its partner found its way into my stash.  A beautifully heavy floral cotton, too heavy for pleats or ruching, not enough fabric for a full circle skirt, but just enough for a 1/2 circle - something that's been on my to-make list for a while.  Drafting it was quick and easy, I didn't even bother making a paper pattern, which actually I'm slightly regretting now as it came out so perfectly that I'm on the brink of making a whole family of 1/2 circle skirts.  I only had enough fabric for a slightly awkward above-the-knee length, which I embraced by sewing an amazing vintage trim my Mum gave me years ago that's been waiting for the perfect opportunity to be used, to add a few extra inches to the hem.


After the success of my skirt - and I really think this one is up there with my favourite skirts ever made - I settled in for the night and cast on for a chunky ribbed snood, which I had every intention of saving in my Christmas Present Bag...


But hell no, my friends, like so many other things I make intended for others, I am so keeping this one!  I can always knit more...


An evening well spent I say.

Monday, 7 November 2011

Preparing for Autumn ~ part VII ~ Finale


It's done!  My Swing Jacket is finally done!  And actually, it was done a week ago, I have just been really slack about taking pictures of it.


(skirt by From Somewhere)

This has been one hell of a process, believe me.  Not because it was outrageously challenging to sew or anything, just because somehow, one thing after another, it was one of those projects that got done in little bursts of motivation, and kept having to be put down for one reason or another, and don't even get me started on the lining... I love silk, but it can be such a slippery pain to work with, especially when it has to be oh so precisely blind stitched by hand... I tell you, I was ready to take that fiddly little pesky needle and do some damage on more than one occasion.


But I'm thrilled with how she's turned out - and she really feels like a she, you know?  Strong, confident and capable, a real woman of a jacket, oozing with understated feminine elegance.  Sort of like how I feel on a good day!


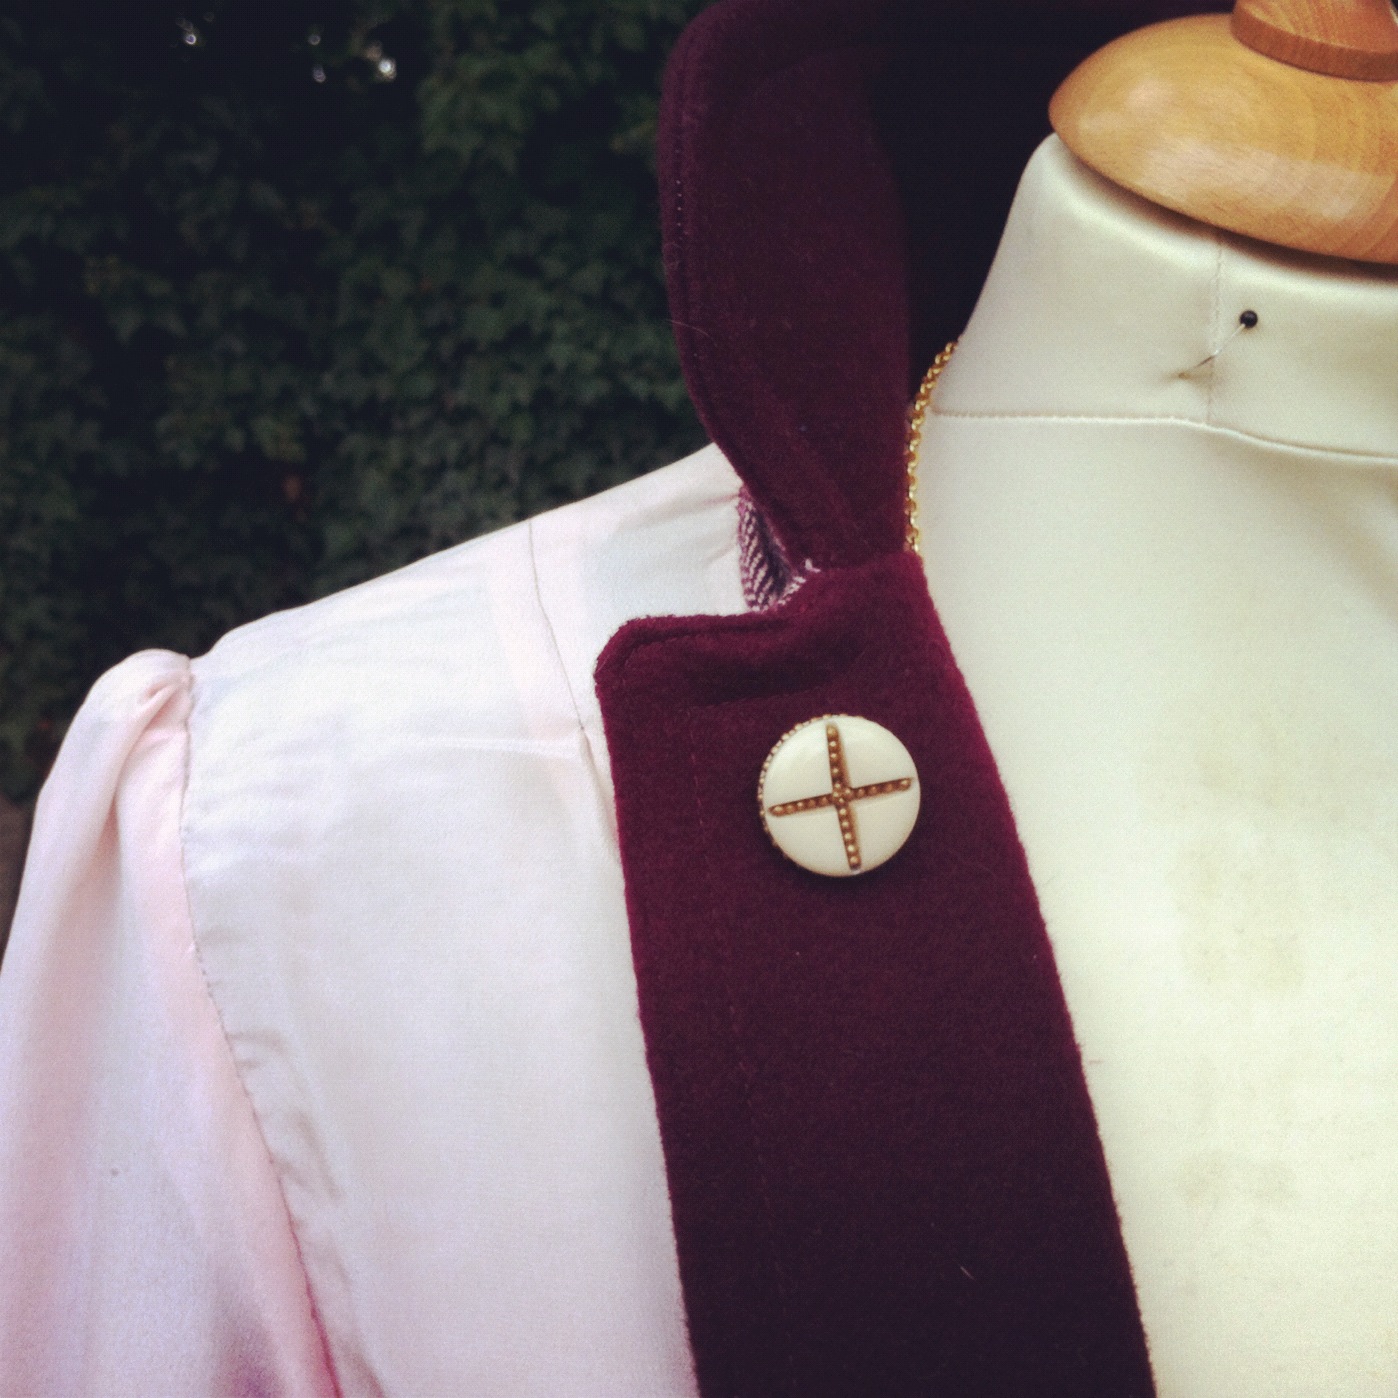
The details came together beautifully - which I must confess are usually an afterthought for most of my projects, but I knew that this one deserved so much better (and actually so will all future projects from now on - sewing resolution) - the perfectest buttons narrowed down from a selection of already perfect buttons, the cape's original label which I kept and replaced, my Grandmother's diamond harp brooches (they really make music!) taking pride of place on her lapel.


And one last confession - the real reason it took so long to getting round to taking pictures is that I was initially a little disappointed... When I first tried my now beloved Swing Jacket on, I felt swamped.  I hadn't expected her to be so big; I guess I'd ignored the generous width in the sleeves; I wondered if, after all that, I'd made her too big.  I re-checked the pattern and not only was the size fine, I noticed that the elegantly drawn lady in the picture looked equally swamped by her illustrated jacket.  And she looked great.  So I tried mine on again.  I fiddled with my hair, I took off my jeans and put on a pencil skirt, I stood on tip-toe.  I got into character.  And then I started feeling it: like the best things in life, this jacket is a real grower.


Related Posts Plugin for WordPress, Blogger...